Until only a few years ago, if you wanted to share a photo accompanied with the desired location, you could easily have added a name, even names of places that were not real and were nowhere o be found in the world.
After Facebook acquired Instagram, changes were made to the application, and we could no longer add our favorite locations on the Instagram social networking application.
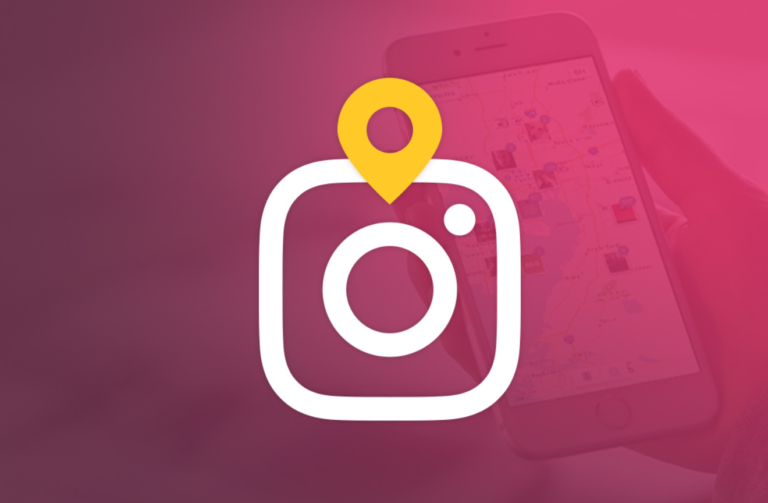
This caused problems when adding Instagram locations because there were no locations in the Instagram location section.
Now you have the opportunity to add your favorite desired location to Instagram using Facebook.
In this article, we will teach you how to add custom locations to customize the site of your Posts! If you agree, let’s take a closer look into this matter.
This is usually used for Instagram Business Pages; to add your desired location on Instagram, you first need to link your account to Facebook.
To do this, log in to your Instagram profile and choose Linked Accounts from the Settings section.
By entering this section, you can link your Instagram page to different social networks. Our intention here is to Connect Instagram to Facebook!
In this section, just type in your Facebook information to enter it.
As simple as this, you can connect your Instagram account to Facebook and then follow the next part of the tutorial.
At this point, you need to log in to the application or Facebook website to choose your preferred location.